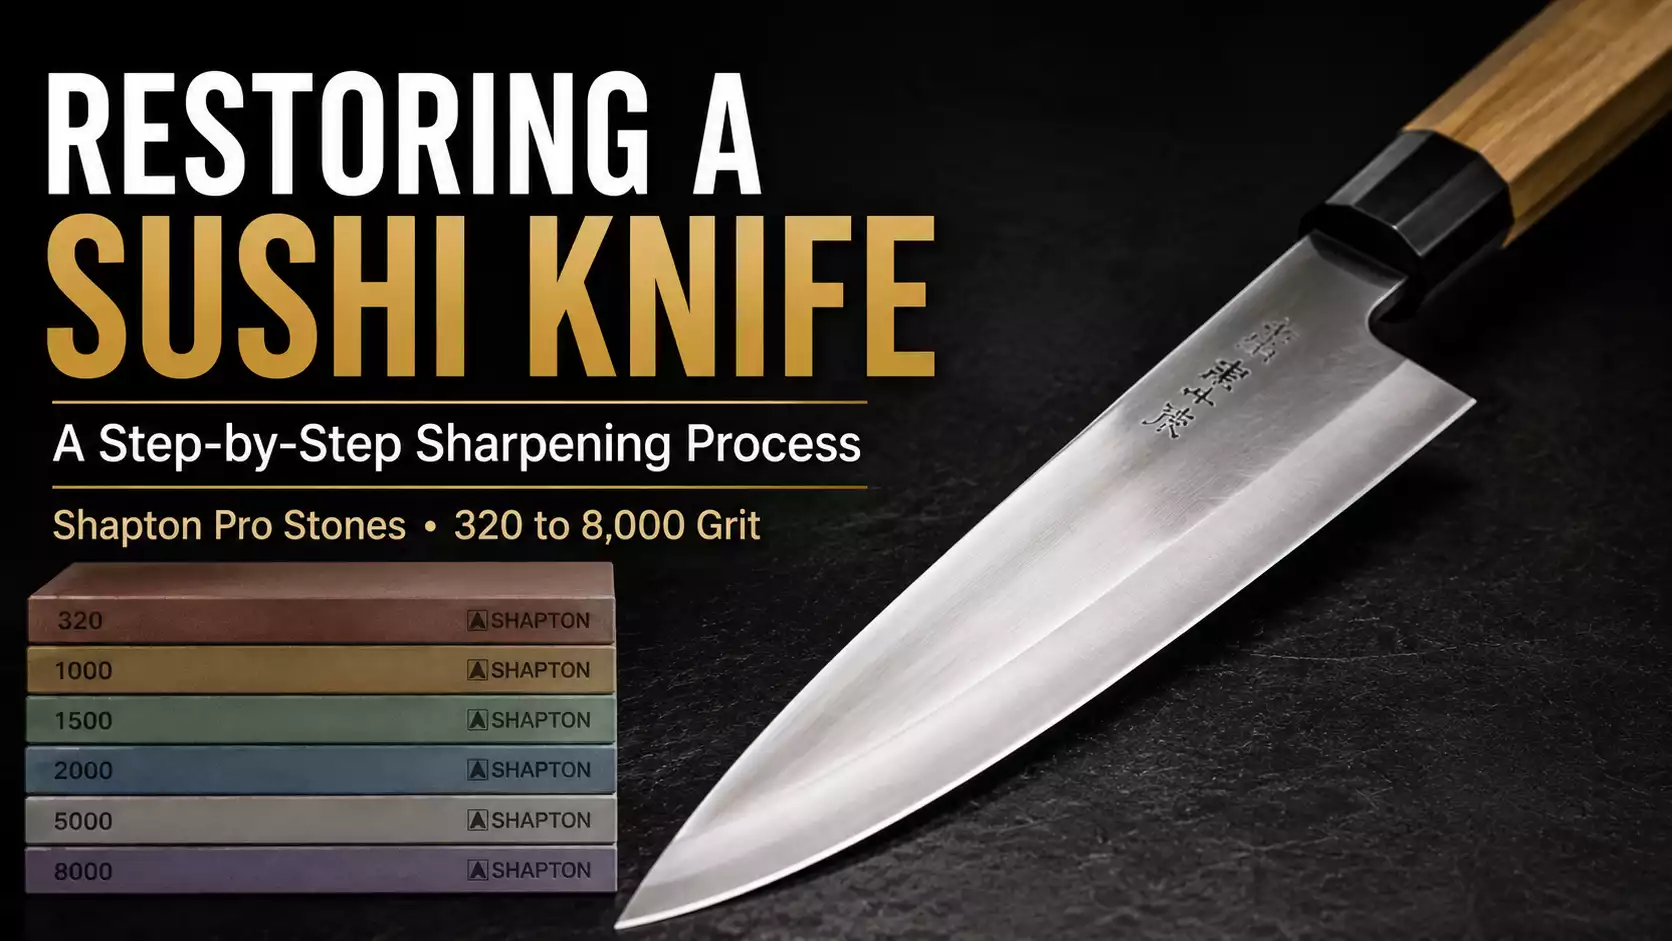
A sushi chef recently called me about one of the knives I service. The request surprised me because I had sharpened the same Sushi knife only a week earlier. The chefs at this restaurant maintain their own knives and only contact me when they feel their sharpening routine is no longer producing the results they want.
When I arrived, I understood why they had called. The knife was sharp enough to use, but the bevel did not have the finish they were looking for. The edge performed well, but the appearance needed attention.
Evaluating the Knife
The hollow ground back side of the knife was already in good condition, so there was no need to work on that area. The focus was the primary bevel, which had become uneven after repeated sharpening.
I started with a Shapton Pro #320 stone to level the bevel. The process took about 15 minutes before the bevel became even from heel to tip. I stopped just short of the cutting edge instead of grinding the bevel completely flat.
Some sharpeners prefer to carry the bevel all the way to the edge. My approach is different. I add a slight angle at the edge because I find it provides better support for the cutting edge.
Building the Edge
Once the bevel was uniform, I continued through the sharpening progression:
- Shapton Pro #1,000
- Shapton Pro #1,500
- Shapton Pro #2,000
With each grit, I adjusted the position of the knife. By the time I reached the #2,000 stone, the knife was moving across the stone in a horizontal pulling motion.
After completing the 2,000-grit stage, I removed the burr by laying the back of the knife flat on the stone and making a single pass.
Refining the Bevel
The final stages were completed on the Shapton Pro #5,000 and #8,000 stones.
At this point, the focus shifted from shaping the edge to refining the finish of the bevel. Extra time on these stones helped create a consistent surface across the bevel while maintaining the edge that had already been established.
By the end of the progression, the knife had a cleaner appearance than when I first received it.
Stopping at 8,000 Grit
The restaurant’s highest grit stone was the Shapton Pro #8,000, so that is where the sharpening process ended.
The finished knife had the appearance the chef was hoping for. Since the restaurant had purchased the 8,000-grit stone the previous week, I did not charge for the work.
Instead, I left with an assortment of sushi for lunch—a trade that worked out well for both of us.
Final Thoughts
This sharpening session was a reminder that knife maintenance is not always about making a knife sharper. Sometimes the edge already performs well, and the goal is to restore an even bevel and improve the finish. Working through a structured progression—from 320 to 8,000 grit—made it possible to correct the bevel while producing a finish that matched the expectations of a professional sushi chef.
Useful links
Maestro Wu Yanagiba Sashimi Knife – 9″ with Steel Handle (F-13)
Maestro Wu G6 Sushi and Sashimi Knives (Japanese Fish Knife) – 4 Sizes