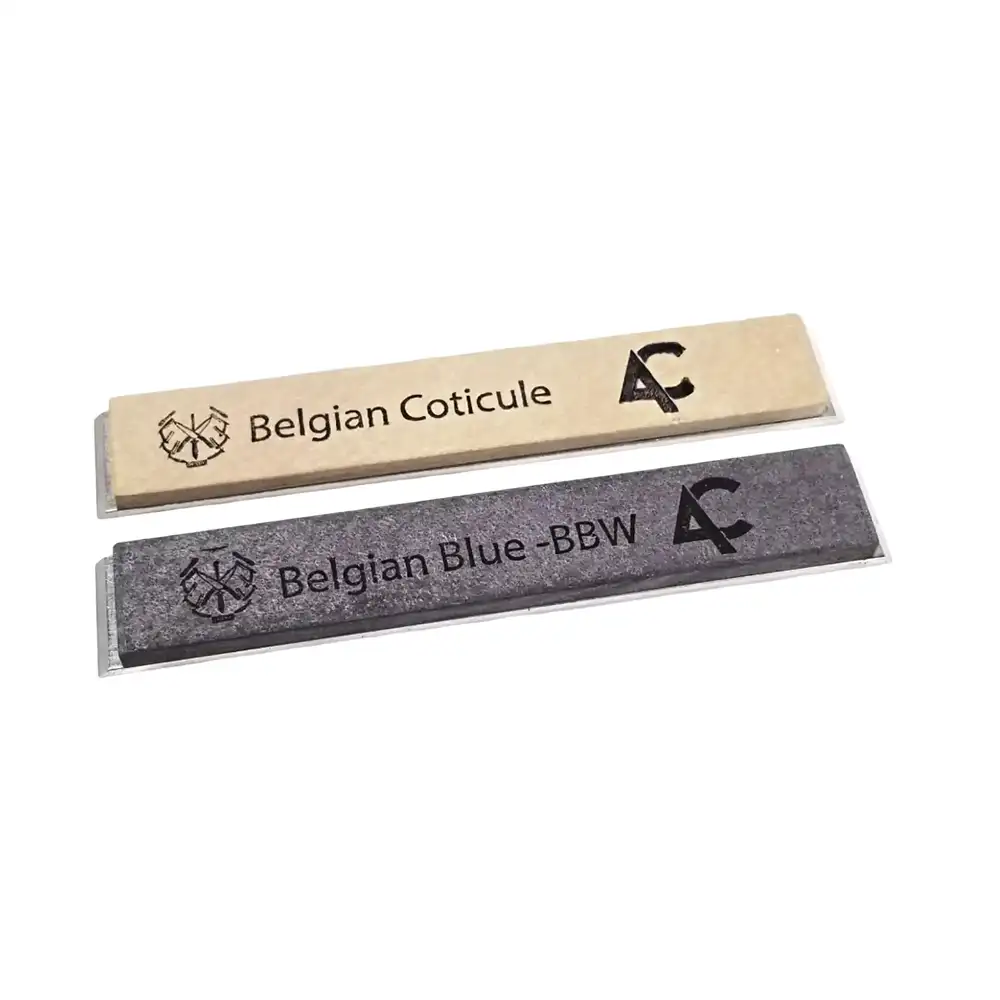
Belgian coticules have long held a respected place in the straight razor community. As one of the few natural sharpening stones still being quarried today, they are often regarded as a complete honing solution capable of taking a razor from bevel setting to a finished shaving edge. The average cutting ability of a coticule is commonly compared to an 8,000-grit synthetic stone, which many shavers consider sufficient for a comfortable shave. Enthusiasts frequently describe the resulting edge as having a smooth, forgiving feel.
Despite their reputation, my own sharpening experience has been centered primarily around synthetic stones. With synthetic options available up to 30,000 grit, along with polishing compounds reaching 0.125 and 0.025 microns, I have always questioned whether relying on a coticule alone could produce the same level of refinement. While higher grit edges can become more delicate, they also tend to deliver closer shaves, making the comparison an interesting one.
Previous Experience with Coticules
Although I generally prefer synthetic stones, I am not unfamiliar with coticules. I own two Belgian stones one vintage coticule bonded to a Belgian Blue Whetstone (BBW), and another naturally occurring combination stone. While I would not describe myself as a dedicated coticule specialist, I have spent considerable time studying their use and have shaved with razors honed by experienced coticule users. That experience provided a useful point of reference before beginning this project.
One thing I noticed over the years is that microscope images of coticule edges are relatively uncommon. Many users judge success entirely by shave quality rather than microscopic appearance, believing that comfort on the face is more important than the scratch pattern under magnification. Both viewpoints have merit, but I wanted to better understand exactly what was happening at the edge itself.
Synthetic vs. Natural Scratch Patterns
Under magnification, synthetic and natural stones produce noticeably different scratch patterns.
Synthetic stones typically create uniform, consistent scratches because the abrasive particles are manufactured to the same size and distribution. Natural stones, on the other hand, contain particles of varying sizes and natural inclusions, resulting in a less uniform scratch pattern. This difference does not necessarily determine shave quality, but it does illustrate the different ways these stones interact with steel.
Synthetic stones generally remove material more aggressively and create a well-defined apex, while natural stones often leave shallower scratches and a more rounded edge profile.
The Goal of This Evaluation
The purpose of this project was not to determine whether natural stones are better than synthetic stones. Instead, I wanted to document exactly how a naturally occurring coticule/BBW combination stone developed an edge during the honing process.
The test razor was a Wade & Butcher wedge, and every stage of the progression was photographed using a Veho 400 USB microscope. Each image represented an area approximately 0.75 mm high by 1 mm wide, allowing direct observation of how the edge changed throughout the progression.
Preparing the Razor
Before beginning the coticule progression, the razor required a small amount of corrective work. A minor chip near the tip was removed using an Atoma 140 followed by a Chosera 400 stone. Since this preparation was only intended to restore the edge before the coticule work began, it was not documented.
The razor was honed using two layers of vinyl tape, applying as little pressure as possible during refinement. Approximately 125 strokes were completed between each documented stage, and the outer layer of tape was replaced whenever the honing method changed to maintain consistent geometry throughout the progression.
Heavy Slurry Progression: Establishing the Bevel
With the preparation complete, I began honing on the coticule using a heavy slurry. To remove the scratches left by the diamond plate and the Chosera 400 stone, I performed approximately 1,000 circle strokes, working in sets of about 20 strokes per side. Pressure was applied throughout this stage because the objective was to establish the bevel as efficiently as possible.
The tape was replaced before beginning this stage since coarse sharpening causes noticeable tape wear, and maintaining a consistent honing angle is important throughout the progression.
First Results Under the Microscope
After completing the circle strokes, the microscope showed that the scratch pattern now came entirely from the coticule. Although the edge was far from finished, the previous coarse scratches had been replaced with a new pattern produced by the natural stone.
This stage is intentionally aggressive and serves only to build the foundation for later refinement.
Refining the Bevel with X-Strokes
Once the initial bevel was established, I replaced the tape again and continued using the same heavy slurry. This time, instead of circle strokes, I switched to standard X-strokes with no additional pressure.
After approximately 125 strokes, the microscope revealed a noticeable improvement. The bevel had already begun to clean up, and the coarse scratches created during the circle stroke stage were becoming much more uniform.
One interesting observation was that the area immediately behind the edge showed considerably less abrasion than before. Since pressure was no longer being applied, the edge flexed less during honing, allowing the stone to work more precisely on the apex itself. Excessive pressure can actually cause the very edge to lift away from the stone, reducing sharpening efficiency.
Continuing with the Heavy Slurry
Another 125 X-strokes were completed, bringing the total to 250 strokes during this stage.
Although the changes appeared subtle under the microscope, several improvements were taking place:
- The bevel surface became increasingly uniform.
- The scratch pattern remained relatively shallow despite the aggressive slurry.
- Reflected light from the bevel indicated a higher level of refinement.
At the same time, the cutting edge still appeared somewhat irregular. This is expected because the loose abrasive particles suspended in the heavy slurry continue cutting aggressively as they roll between the blade and the stone.
Switching to Askew X-Strokes
To ensure that all remaining scratches originated from the coticule rather than the earlier synthetic stones, I changed the tape once again and switched to an askew X-stroke.
Unlike a standard X-stroke, the blade is held at roughly a 20–30 degree angle relative to the stone. This alters the scratch direction, making any remaining diamond or synthetic scratches much easier to identify under magnification.
I completed approximately 125 askew X-strokes while continuing to use the heavy slurry.
Evaluating the Edge
By this point, the edge had begun to come together. Under the microscope, the apex appeared much more continuous, and only a few deeper scratches remained just behind the cutting edge.
Although the razor could technically be considered sharp at this stage, it was not yet suitable for shaving. The heavy slurry continued cutting aggressively, producing an edge that would perform well on a utility knife but still lacked the refinement expected from a finished straight razor.
Completing Bevel Setting
I finished this stage with another 125 askew X-strokes, bringing the total to 250 askew strokes using the heavy slurry.
At this point, I considered the bevel fully established. The edge had become much more consistent, and the heavy slurry had reached the limit of what it could reasonably achieve. Any additional refinement would require reducing the abrasive concentration and allowing the edge to become progressively smoother.
Light Slurry Progression: Refining the Edge
After completing the bevel-setting stage with the heavy slurry, it was time to reduce the cutting action and begin refining the edge.
The tape was replaced once more, the stone was cleaned thoroughly, and a light slurry was prepared. I returned to the standard X-stroke so I could closely monitor how the edge responded as the abrasive became less aggressive. The first stage consisted of approximately 125 X-strokes.
A Slower but More Controlled Cutting Action
The change from a heavy slurry to a light slurry was immediately noticeable.
The stone removed steel more slowly, allowing the bevel to become increasingly consistent. Under the microscope, another interesting detail became apparent. Small areas of micro-chipping, previously hidden by the aggressive cutting action of the heavy slurry, began to appear along the edge.
Although this might seem concerning, it is actually a normal part of the refinement process. As the heavier scratches are removed, the true condition of the apex becomes easier to evaluate.
Meanwhile, the bevel surface itself continued to improve, showing fewer variations than before.
Additional Refinement
A second set of 125 X-strokes was completed, bringing the total to 250 strokes with the light slurry.
At this stage, the microscope showed that both the bevel and the cutting edge had become significantly more consistent. The apex displayed greater definition, and the overall geometry of the edge was much cleaner than it had been during the heavy slurry stage.
The edge was now prepared for the final stages of honing.
Beginning the Honing Stage
With the bevel fully established, I replaced the tape once again while keeping the existing light slurry on the stone.
This time I switched back to the askew X-stroke, performing approximately 125 strokes. At this point, the objective changed from setting the bevel to refining the cutting edge itself.
Under magnification, the ridge at the very edge became increasingly continuous. While it was still somewhat thicker than a finished shaving edge, it was clearly progressing toward a more refined apex.
For a straight razor to shave comfortably, the edge must become thin enough to cleanly cut facial hair without pulling or tugging. This stage plays an important role in achieving that level of refinement.
Transitioning to the Dilucot Method
With the edge sufficiently refined, I moved into my interpretation of the Dilucot method.
The traditional approach involves gradually diluting the slurry by adding small amounts of water while continuing to hone. As the abrasive concentration decreases, the stone cuts more gently, allowing the very edge to become progressively more refined.
For this evaluation, I performed approximately 750 askew X-strokes, adding a light mist of water every 125 strokes. Throughout the process, I documented each stage under the microscope.
As the slurry became thinner, two improvements were visible:
- The bevel developed a more refined reflective finish.
- The cutting edge gradually became more defined and consistent.
Although the changes between each stage were subtle, the cumulative improvement was easy to observe after several dilution cycles.
Reaching the Limits of the Stone
By the final stages of dilution, the apex had become much more pointed, although it still retained a slightly rounded profile.
At this point, I felt the stone had reached its maximum practical level of refinement. While additional strokes could continue polishing the bevel, there was little evidence that the cutting edge itself would improve significantly beyond this stage.
Finishing on a Dry Coticule
Rather than following the traditional Dilucot progression all the way to a clean, wet stone, I decided to try something different.
After replacing the tape one final time, I used the coticule completely clean and dry.
My reasoning was that, as the stone loads with fine steel particles and honing residue, its surface becomes less aggressive. Instead of continuing to cut deeply into the steel, the loaded surface begins to produce a polishing or burnishing effect.
In other words, the accumulated swarf may help smooth the existing scratch pattern by polishing the high points rather than creating new scratches. This approach differs from the traditional method, but I felt it was worth exploring as part of the overall evaluation.
Shaving Performance and Final Observations
After completing the honing progression, the next step was to evaluate the razor where it matters most—in an actual shave.
While producing a comfortable shaving edge is always the primary objective, I also wanted to understand why the edge behaved the way it did by comparing what I observed under the microscope with how the razor performed in use.
The Role of Steel
One factor that cannot be overlooked is the steel itself.
The test razor was a Wade & Butcher, a maker well known for producing smooth-shaving blades. The combination of this steel and the coticule edge worked well together and produced a comfortable shave.
From previous experience, I have shaved with razors finished on coticules by several experienced honers. While those edges were enjoyable, many sharpeners choose to continue refining the edge with chromium oxide or other pasted strops after leaving the stone. This additional polishing step often increases smoothness beyond what the coticule alone provides.
Some users believe certain coticules naturally produce finer finishes than others. My view is a little different. I believe all coticules operate within a similar range of refinement, although, as natural stones, they exhibit more variation than synthetic stones due to differences in their mineral composition.
Personal Preference Plays a Role
One of the interesting aspects of straight razor honing is that every shaver experiences an edge differently.
Some people enjoy extremely refined edges, while others prefer a slightly softer feel. Beard density, skin sensitivity, shaving technique, and personal preference all influence how an edge is perceived.
During my test, the razor delivered approximately a day and a half of comfortable shaving. The blade moved through the beard without pulling, which confirmed that the edge had reached a practical shaving level.
However, I also noticed that the shave was not quite as close as I normally expect from my synthetic stone progressions. Stubble became noticeable sooner than I am accustomed to.
This isn’t a criticism of the coticule—it simply reflects the difference I observed compared to the edges I typically produce with synthetic stones.
It’s also worth mentioning that I had spent the previous few weeks experimenting with Arkansas stones, some of which produced noticeably rougher shaves. That recent experience may have influenced my perception of the coticule edge, making it feel comparatively smoother. A direct comparison against one of my regular synthetic-finished razors would provide a more objective evaluation.
Thoughts on the Dilucot Method
The final area I wanted to examine was the Dilucot method itself.
There is no question that the method is capable of producing a shaving edge when adapted to an individual’s technique. However, after documenting every stage under the microscope, I believe the process benefits from additional refinement beyond its simplest form.
Many natural stone edges I have observed resemble what I referred to earlier as a “false positive”—an edge that appears sharp enough to shave but has not yet reached its maximum potential.
Traditional coticule users often compensate for this by performing extensive stropping on canvas and leather, or by making small adjustments such as adding another layer of tape to slightly alter the bevel geometry.
Rather than viewing these additional steps as shortcomings, I see them as part of tailoring the honing process to suit both the stone and the razor.
What the Microscope Revealed
One of the biggest benefits of this project was documenting every stage under magnification.
The microscope demonstrated that a coticule is capable of producing a surprisingly consistent edge when given enough time. It also highlighted the importance of patience.
As the stone loaded with swarf, the polishing action became increasingly noticeable. The accumulated steel particles appeared to help smooth the scratch pattern, producing a more refined cutting edge. The more strokes performed during the finishing stages, the more consistent the results became.
Even though this particular coticule was not marketed specifically as a finishing stone, it still produced a shaving edge that I considered entirely satisfactory. While it did not deliver the level of closeness or edge longevity that I personally achieve with synthetic progressions, it clearly demonstrated that a single coticule can produce an effective shaving edge with careful technique.
Final Thoughts
Throughout this project, I intentionally deviated slightly from the traditional Dilucot method because my own sharpening philosophy is different.
I often think of sharpening in terms of three competing goals:
- Good
- Fast
- Economical
In most cases, you can realistically prioritize only two.
A coticule represents an economical solution because a single stone can complete the entire honing process. From there, the choice becomes whether to emphasize speed or maximize refinement.
For this evaluation, I deliberately chose refinement over speed. By taking additional time, carefully monitoring each stage under magnification, and allowing the edge to develop gradually, I believe I achieved a more complete understanding of what the stone is capable of producing.
Some experienced coticule users may feel that my progression involved more work than necessary. That is a fair perspective. However, documenting the entire process under the microscope provided valuable insight that simply sharpening by feel cannot offer.
Conclusion
This project reinforced an important lesson: a Belgian coticule stone is fully capable of producing a comfortable straight razor edge, but success depends on patience, consistency, and understanding how the edge evolves throughout the honing process.
Rather than trying to determine whether natural stones are superior to synthetic stones, the experience demonstrated that each approach has its own strengths. The choice ultimately depends on the sharpener’s goals, preferred technique, and the type of edge they wish to produce.
Hi, it seems that Dr. Matt has found a new system that further improves the edge of a razor sharpened with a Coticule:
https://www.youtube.com/watch?v=FXHsETAasqc
I’d like to know your opinion about this technique.
PS : after 14 minutes you can see the photos of the edges of two razor sharpened with this technique and the results appear in my opinion really amazing, especially after reading your (excellent as always) article.
Thank you very much.
Hi Antonio, Thanks for reading! Dr. Matt is a good friend, and an excellent honer! In the video you mention, prepping the blade up to (especially) a Shapton 5K Pro or equivalent synthetic will increase the performance of any coticule because the scratch depth and consistency of the Shapton/synthetic. The edge at the 5K level is mirrored, and the coticule edge is more or less “dumbing down” the prepped edge from that point, whereas in a straight coticule honing, you are usually trying to “push up” past all the deeper previous scratches or microchips, etc.. And while the scratches from the coticule are going to be the same, it will always be better if it is approached as a “dumbing down” move. The same applies with Arkansas stones, too. FWIW, I think Matt could’ve saved a minute or 2 by not stropping between the 5K Shapton Pro and the 1st coticule, but that is another discussion for a later date. 🙂 Thanks again!