Hi, this is Tom Blodgett from Jende Industries, and today I want to go over loading up the Jende Nanocloth Strops. It’s a little bit of a process the first time, and I just want to walk you through it.
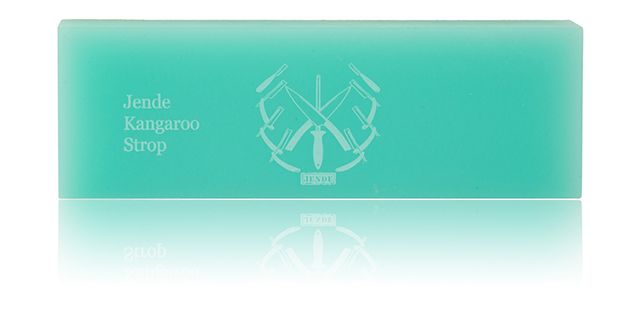
We have different sizes here, and everything is color-coded to match. In this case, we have green, which matches the emulsion label. They’re color-coded that way for easy identification.
Otherwise, all the bases are acrylic, and the Nanocloth itself is the same on every grit. It doesn’t matter which grit you’re using; it’s the same material. The colors are simply there to make the grits easier to recognize without having to read the label to know, for example, that this is a quarter micron.
So basically, the green strops are all the same, and the grit is even marked on the side here. We have a few different sizes. We’ve got a 1×4, a 1×6, a 2×6, and a 210×70 mm full-size strop.
I’m going to take a brand-new strop. You can see how black the surface is. These other strops are already loaded, but a new Nanocloth strop is jet black.
What we’re going to do is basically fill the honeycomb structure of the Nanocloth. We’ll start by squirting some emulsion onto the surface.
The Nanocloth is very thirsty when it’s new, so the first time you load it, it’s going to use quite a bit of emulsion. Not the whole bottle or anything like that, but you’ll probably use around 3 or 4 ml of emulsion for the initial loading.
As I spread it around, you can use something like a knife or simply spread it across the surface. The emulsion will start falling into those honeycomb structures. You can already see it starting to bubble up and the black surface showing through. The emulsion is basically settling into the small openings in the Nanocloth.
The first time you load it, the material absorbs quite a bit. Spread the emulsion evenly across the surface and then let it dry.
I’m going to let this sit for about five or ten minutes. You’ll see shortly just how quickly the first coat begins to absorb. You can already see it starting to speckle as the emulsion gets pulled into the Nanocloth structure.
Now, let’s move on to a strop that has already been loaded and used. This one was previously loaded, so we’re simply going to reload it. It doesn’t need nearly as much emulsion as the first loading. At this point, we’re mostly just covering and recharging the surface.
That’s really what reloading is about recharging the strop and topping off the honeycomb structure.
When it dries, the surface will turn black again. You can see that the emulsion isn’t disappearing as quickly as it did on the brand-new strop. The surface is maintaining more moisture because the Nanocloth has already been loaded.
When you reload a strop, it generally takes about half as much emulsion as the initial loading. We’ll come back in a little while, and you’ll see that the surface will turn black again. It may have a light gray haze, but it won’t stay gray like it looks right now.
This next strop was previously loaded and used, but we decided to clean it. We washed it using only water because the emulsion is water-soluble. After rinsing, we dried the strop with compressed air. At this point, it’s basically dry.
That’s one way you can clean a Nanocloth strop. Now we’re going to load it again. Since this is a larger strop, we’re not exactly sure how much emulsion it will take.
While drying this strop, I noticed some gray residue coming out with the compressed air. There was still some diamond residue inside the Nanocloth after rinsing, but most of the heavier material that had built up on the surface was removed.
This is roughly what your first coating should look like. You can already see how quickly the other strops are changing. In only a minute or a minute and a half, they’re already starting to turn black again as the emulsion absorbs and dries.
We’ll come back in a few minutes and see what they look like.
It’s now been about five minutes, maybe seven. You can see how the surface has already transitioned back to black with a slight gray haze.
The same thing is happening with the 2×6 strop. The full-size strop is still drying. You can see some streaks on the surface, which are simply caused by areas where the emulsion was more concentrated as I spread it with my finger.
Those areas will take a little longer to dry because the emulsion has pooled slightly. I also want to load a 1×4 strop so you can see approximately how many squirts it takes.
This is a 50 ml bottle. If you’re using a 7 ml bottle, anticipate using around 3 ml, or roughly half the bottle, for the first loading. With a 25 ml bottle, you’ll have plenty of emulsion for multiple applications.
The first loading really soaks into the Nanocloth because the material is very thirsty. We’ll let this strop dry as well and add it to the others.
Generally speaking, after loading your strops, I recommend letting them sit for several hours. Honestly, allowing them to dry overnight is even better.
You don’t want to use the strop while the emulsion is still wet. If you strop while it’s wet, you may simply pull the diamond abrasive off the surface, which is a waste.
Let the strops dry overnight, or for at least a couple of hours, before using them. We’ll do another video shortly showing how to properly use these strops.
All right, thanks.
Strops: Jende Nanocloth Ultra in 1×4″, 1×6″, 2×6″ and 210x70mm
Emulsion: Jende Poly Diamond Emulsion, 0.25 micron (60,000 grit)