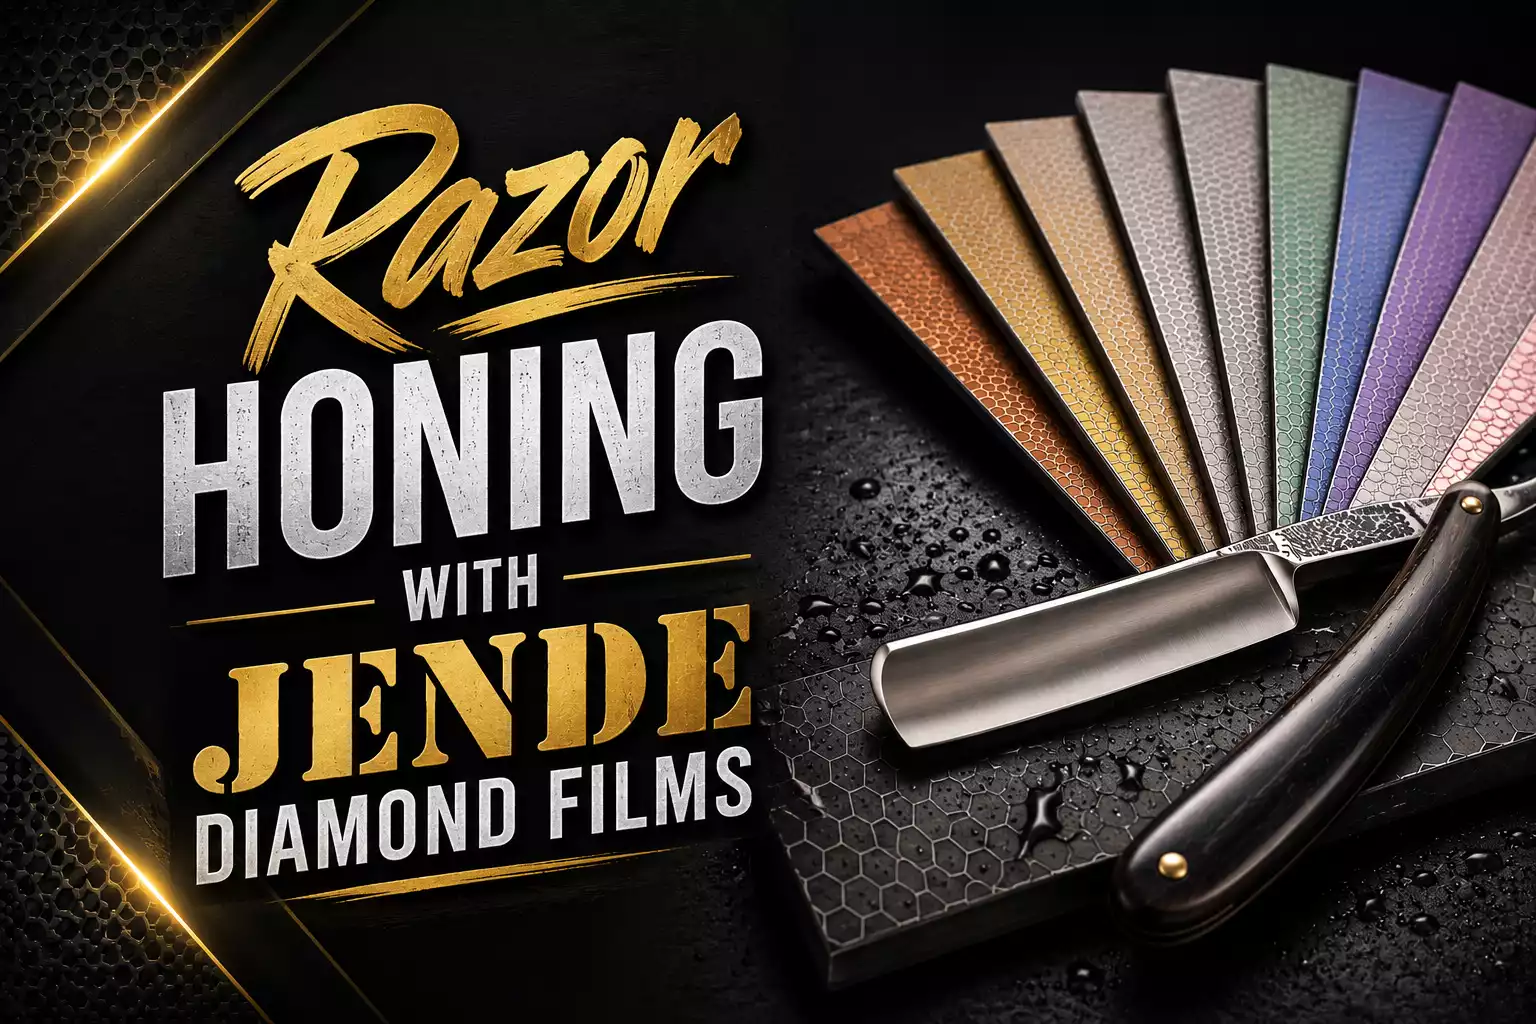
The new Jende Diamond Films are great for honing razors. I personally use the 1″x6″ size with PSA for all my razors, but you can use larger sizes, with or without PSA backing just as well! Here I go through the 45, 30, 15, 9, 6, 3, 1, and 0.5 micron films. For most razor applications, I recommend the Polishing Set from our website, which is the 15, 9, 6, 3, 1, 0.5 micron films (1K through 30K).
Hi, I’m Tom Blodgett from Jende Industries, and today I’d like to introduce our new line of Jende Diamond Films.
Our current range starts at 45 microns and progresses all the way down to 0.5 micron. The available grits are 45, 30, 15, 9, 6, 3, 1, and 0.5 micron, with 60 and 80 micron films being added soon.
The films are available with both PSA (Pressure Sensitive Adhesive) backing and non-PSA backing. They will be offered in several sizes, including Wicked Edge paddles, Edge Pro format, 2 × 6 inches, and eventually 3 × 8 and possibly 3 × 11 inches.
Today I’ll demonstrate how to use the films by honing a straight razor.
Since my films are already mounted with PSA backing, I’ll simply work through the grit progression so you can see how they perform.
I prefer using water as a lubricant. While it isn’t absolutely necessary, water helps carry away swarf and steel particles, keeping the film clean during use. Although the films are durable, they are still thin, so avoid excessive pressure or anything that could tear the surface.
Both edge-leading and edge-trailing strokes work well with these films.
As soon as you begin sharpening, you’ll notice that the films feel and sound very similar to a sharpening stone. The one-inch-wide surface provides plenty of room for a straight razor, whether it’s a 3/8, 5/8, or 6/8-inch blade.
One advantage of the narrow format is that it naturally compensates for slight smiles or frowns in the blade. For example, this razor has a small dip near the center of the edge, and the one-inch film follows that contour without wearing unevenly, something that can happen with larger stones or wider sharpening films.
Although larger formats such as 3 × 8 inches work perfectly well, I personally find the 1 × 6-inch size comfortable and efficient to use.
Diamond abrasives cut very quickly, so it’s important to monitor your progress rather than simply counting strokes. Since this razor was already in good condition, I don’t need much time on the 45-micron film before moving to the next grit.
Personally, I prefer progressing through every grit in the sequence. Some sharpeners skip grits, but I prefer taking fewer strokes on more grits instead of more strokes on fewer grits. This produces a smoother scratch progression and makes each step easier to complete.
As a general guideline, I recommend 50 to 100 strokes per grit, just enough to remove the scratches from the previous grit before moving on.
The films are also quite durable. While today’s demonstration focuses on a straight razor, they’re equally suitable for sharpening knives, and I’ll be demonstrating that in a future video.
15 Micron
Now we’re moving to 15 microns, which is roughly equivalent to a 1,000-grit stone.
At this stage, the bevel should already be fully established, and we’re simply refining it. You’ll notice that the sound becomes quieter as the scratches become finer, but don’t mistake that for reduced cutting ability—the diamonds are still removing steel efficiently.
One of the advantages of diamond abrasives is that they perform consistently on virtually every type of steel, from traditional carbon steels to stainless steels and harder, high-Rockwell alloys.
9 Micron
Next is 9 microns, approximately 1,500 grit.
The edge should now appear cleaner and more uniform. Rather than relying on a fixed stroke count, inspect the edge regularly to ensure the previous scratch pattern has been completely removed before moving on.
6 Micron
We’re now at 6 microns, roughly equivalent to 3,000 grit.
You’ll begin seeing dark swarf collecting on the film, confirming that steel is being removed. As the water is pushed aside during sharpening, simply add another light spray to maintain lubrication and help flush away debris.
3 Micron
The transition from 6 microns to 3 microns is one of the most important stages.
This is where the process shifts from primarily sharpening to polishing. The diamonds are still cutting, but now you’re refining the finish rather than simply removing material.
It’s important that the 6-micron stage is completed thoroughly because any deeper scratches left behind will become very obvious once you reach 3 microns.
For many knives, 3 microns produces an excellent working edge with a mirror finish. Straight razors, however, benefit from continuing to even finer abrasives.
Continue using light pressure with 50 to 100 strokes, ensuring the edge is completely refined before progressing.
1 Micron
The 1-micron film begins putting the final finish on the edge.
If the previous stages were completed properly, very little work is required here. Simply monitor the edge under magnification and remove any remaining fine scratches.
At this stage, the sharpening action becomes extremely smooth and quiet.
0.5 Micron
Finally, we move to 0.5 micron.
At this point, use very light pressure. With a straight razor, even slight variations in the PSA adhesive beneath the film can influence the edge because we’re working at such a refined level.
For safety, I often recommend switching to edge-trailing strokes, especially when sharpening knives. A highly refined edge can easily cut the film if used edge-leading.
If you change to edge-trailing, keep the same sharpening pattern you’ve been using throughout the progression. Simply reverse the direction of the stroke rather than changing the motion completely.
Only a small number of strokes is necessary here if the previous stages have been completed correctly.
After finishing on the 0.5-micron film, the razor is ready to shave. From here, you can strop on leather, use a compound if desired, or finish on a natural stone, depending on your personal preference.
This is the sharpening progression I recommend for straight razors using Jende Diamond Films.
To learn more or purchase the films, visit JendeIndustries.com.
Like the video! Very good progression and the edge must come out great.
Thanks for reading, Phil. The edges are really good – sharp, yet smooth.
Looks like I will have to test it. Good research.
Sorry forgot to ask, do you wholesale your product? Thanks for your time.
Phil
Classic Edge
Hi Phil, yes, we wholesale! Please contact us through the website for more info.
Very interesting new product, thanks for this.
Glad you liked it! The films work great on straights!