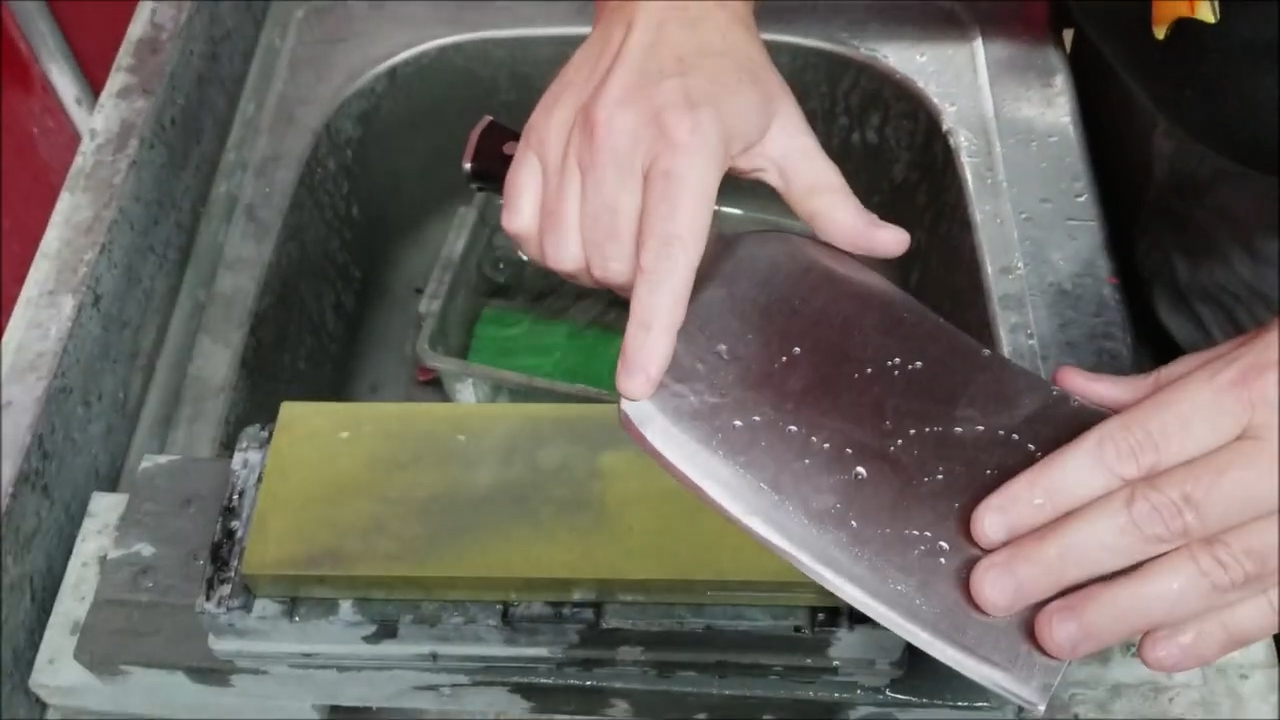
A meat cleaver is one of the hardest working knives in the kitchen. Whether it’s used for breaking down poultry, trimming meat, or preparing vegetables, a sharp edge makes every cut easier and safer. Because of its weight and thicker blade, sharpening a cleaver is a little different from sharpening a standard chef’s knife.
In this guide, we’ll walk through the sharpening process shown in the video and explain the techniques used to restore a meat cleaver using water stones.
Start with a Flat Stone
Before sharpening begins, the water stones are flattened using a diamond lapping plate. This is an important step that many people overlook.
A sharpening stone naturally wears over time. If the surface becomes uneven, it’s much harder to maintain a consistent bevel angle across the entire blade. Flattening the stone first gives you a level surface, allowing the edge to contact the stone evenly from heel to tip.
Even premium water stones benefit from regular flattening.
Preparing the Stones
Once flattened, the stones are rinsed and prepared for sharpening. Water acts as the lubricant, helping remove swarf while keeping the stone cutting efficiently.
Unlike oil stones, these sharpening stones are designed to be used with water only.
Inspecting the Edge
Before making the first sharpening stroke, it’s always worth taking a close look at the blade.
Check for:
- Chips or dents in the edge
- Uneven bevels
- Flat spots
- Areas that need extra attention
Understanding the condition of the knife helps determine where to spend the most time during sharpening.
Sharpening the Cleaver
A meat cleaver has a large, heavy blade, so maintaining a consistent angle is more important than applying heavy pressure.
The blade is moved smoothly across the entire length of the stone, ensuring every section of the edge receives equal attention. Because the edge is much longer than many kitchen knives, the sharpening motion naturally becomes broader to cover the full cutting edge.
Rather than rushing through the process, steady and controlled strokes produce better results.
Keeping the Bevel Even
One challenge when sharpening wide blades is maintaining an even bevel from one end of the knife to the other.
Watching the scratch pattern helps confirm that the entire bevel is contacting the stone consistently. If one section isn’t touching, small adjustments in hand position can quickly correct it before moving to the next grit.
Progressing Through the Stones
After the edge has been established on the initial stone, progressively finer stones are used to remove the scratches left by the previous grit.
Each stone refines the edge further, leaving a cleaner finish and improving cutting performance. There’s no need to rush to the highest grit. The goal is to completely remove the previous scratch pattern before moving on.
This gradual progression produces a cleaner, more consistent edge.
Checking Your Progress
Throughout the sharpening process, it’s helpful to stop occasionally and inspect the edge.
Looking closely at the bevel allows you to identify:
- Remaining coarse scratches
- Missed sections
- Burr formation
- Edge consistency
Taking a few extra moments to inspect your work often saves time later.
Final Finishing
Once the desired finish has been reached, the knife receives a final series of light strokes.
Reducing pressure during the finishing stage helps clean up the apex and leaves a more refined cutting edge. For many kitchen knives, especially meat cleavers, a well-balanced edge offers better everyday performance than chasing an extremely high polish.
Why Stone Preparation Matters
One of the biggest takeaways from this sharpening session is that successful sharpening begins before the knife ever touches the stone.
Keeping sharpening stones flat and clean makes it much easier to:
- Maintain a consistent angle
- Produce an even bevel
- Remove scratches efficiently
- Achieve predictable results
Regular stone maintenance is just as important as sharpening technique.
Final Thoughts
Sharpening a meat cleaver doesn’t require complicated equipment, but it does require patience and consistency. A properly prepared stone, controlled sharpening strokes, and regular inspection of the edge all contribute to a much better result.
Whether you’re maintaining a kitchen cleaver at home or sharpening knives professionally, taking the time to prepare your stones and work through a proper grit progression will help you produce a sharper, longer-lasting edge every time.
Knife – D-12 Maestro Wu Bombshell Steel Cleaver (heavier)
2 thoughts on “Sharpening a meat cleaver on a water stone”